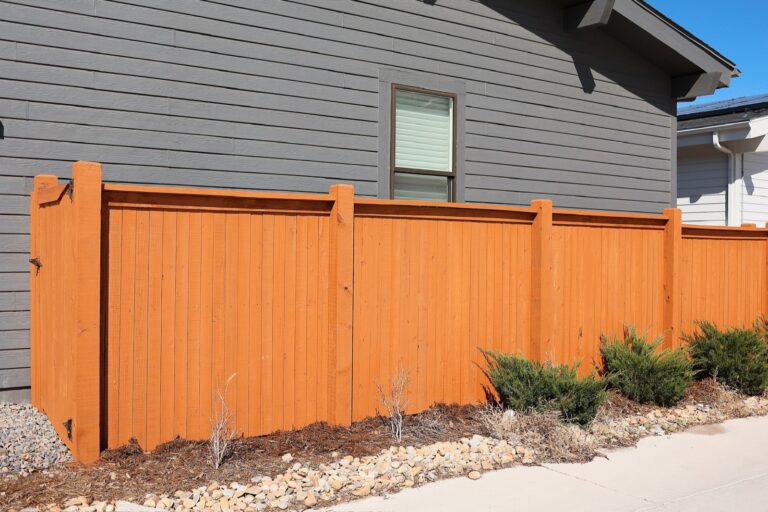
A pergola that still looks good in ten years comes down to three decisions made before the first post goes in: the right wood for your climate, the right footing and placement for your yard, and a finish applied from day one instead of “someday.” Get those three right and a pergola is one of the best outdoor upgrades a home can get. Golden Stain builds and finishes outdoor structures across Colorado and greater Austin, and because we started as a staining crew, we plan every pergola from the finish backward.
Cedar vs pressure-treated: the honest comparison
Cedar
Cedar is the classic pergola wood for good reason. It is naturally resistant to rot and insects, dimensionally stable so posts and beams stay straighter, and beautiful from the day it goes up. It takes stain evenly and shows grain the way no treated lumber does. The trade-off is cost and softness: cedar is the pricier material and dents more easily than treated pine. In Austin especially, cedar feels at home and handles heat and humidity gracefully when finished well.
Pressure-treated lumber
Pressure-treated pine is infused with preservatives that make it very resistant to rot and insects, which is why it is the budget-friendly default for posts and any wood near soil. The trade-offs: fresh treated lumber carries a lot of moisture, so it can twist, check, and crack as it dries, and it must dry out before it will accept stain. Its green or brown cast also takes some finishing work to make handsome.
Our practical take
Many of the best-value pergolas mix the two: treated posts where strength and ground contact matter, cedar overhead where you see and touch the structure. All-cedar is the premium route. All-treated is the budget route that leans hardest on good finishing. Any of the three can last, if the finish and footings are right.
Attached or freestanding?
An attached pergola ties into the house, usually over a deck or patio door. It extends your indoor rooms outward and shades the glass behind it, which your summer cooling bill will notice. The care point is the connection: it must be fastened to the house framing properly and flashed so water never gets trapped against the wall.
A freestanding pergola stands on its own posts anywhere in the yard and can define a destination: dining by the garden, shade over a hot tub, a sitting area at the fence line. It needs nothing from the house, but every post needs a real footing and the frame needs enough bracing to stay rigid on its own.
Footings and anchors: where pergolas succeed or fail
Nobody sees the footings, and nothing matters more. A pergola is a tall, top-heavy frame that catches wind, and in Colorado it also rides out freeze-thaw cycles that heave shallow footings a little more each winter. The main options:
- Poured concrete footings with post bases. The standard: concrete piers below frost depth, with metal bases holding the wood just above the concrete so end grain never sits in water.
- Direct-buried posts. Treated posts set in concrete in the ground. Simple and strong at first, but ground contact is where posts rot first.
- Surface anchors on an existing slab. A thick, sound patio slab can carry posts with rated hardware. The slab’s condition decides everything.
- Helical or screw piles. Steel anchors driven below frost depth, useful where digging is hard or the site is tight.
Whatever the method: get below the frost line in Colorado, keep wood out of standing water, and use hardware rated for the job. A pergola on bad footings leans within a few seasons, and no finish can fix a lean.
Placement: plan the shade, not just the spot
A pergola’s whole job is managing sun, so place it by watching the sun, not by finding an empty corner.
- Track the afternoon. The sun you want relief from is the low, hot, western sun of late afternoon, so watch the proposed spot at the hours you would actually use it.
- Run the rafters to fight the sun you get. The direction, depth, and spacing of the overhead slats decide how much shade falls when you care. Deeper, tighter slats throw more shade.
- Colorado sun is stronger than it feels. At altitude, with around 300 days of sun a year, UV works fast on skin and on wood finishes alike.
- Austin heat wants airflow. Place a pergola to catch a breeze and treat it as a frame for shade cloth or vines. In August, moving air matters as much as blocked light.
- Mind what is above and below. Check overhead lines, tree limbs, and where roof water sheds. Do not put a post in the path of a downspout.
Finish it from day one
Here is where our staining roots show. The most common pergola mistake we see is waiting to finish it. Bare cedar starts graying within its first season under Colorado UV. Bare treated lumber cracks and checks as it dries unprotected. By the time the structure “looks like it needs stain,” the surface has already weathered, and the first refinish starts with restoration instead of protection.
The better way: plan the finish as part of the build. New cedar can typically be cleaned and finished shortly after construction. Treated lumber dries until it stops repelling water, then gets finished before its first full summer of sun. A quality penetrating stain, hand-brushed and back-brushed into the grain the way we finish fences and decks, protects against UV and moisture on every face, including the end cuts where water enters first.
Your stain choice sets the maintenance rhythm, and we put it in writing before work starts: Golden Stain warranties transparent stain for 1 year, semi-transparent for 2 years, and solid stain for 3 years. More pigment means more UV protection and a longer interval, less pigment means more visible grain. On a pergola, which catches sun on every face, that trade-off deserves a real conversation.
Frequently asked questions
Is cedar worth the extra cost over pressure-treated for a pergola?
If the pergola is a visual centerpiece you will sit under daily, cedar’s stability, grain, and natural rot resistance usually justify it. If budget is the driver, treated lumber builds a strong pergola too, and a mixed build with treated posts and cedar overhead is a smart middle path. Either way, the finish does a lot of the aging gracefully.
How soon should a new pergola be stained?
Cedar: shortly after the build, once the surface is clean and dry. Pressure-treated: after the lumber has dried enough to absorb finish. Sprinkle water on it, and if it soaks in rather than beading, it is ready. Either way, the goal is finished before the first summer of full sun, not after.
Do I need permission from my HOA or city to build a pergola?
Often, yes. Many HOAs review outdoor structures, and many cities want permits above a certain size or for attached structures. Requirements vary by community, so check before finalizing the design. Approvals are usually straightforward when the plan is drawn clearly.
Can Golden Stain build the pergola and finish it too?
Yes, and that is the point of one crew. Our carpentry team builds the structure and sets proper footings, then the same company that started on the fence line stains and seals it, with the warranty in writing before work starts. Licensed and insured, 4.9 stars across 120+ Google reviews, serving Colorado and greater Austin.
Get your free estimate
Picturing shade over your patio this summer? Let us look at the site with you, talk wood, placement, and finish, and give you a clear written plan. One team builds it and finishes it, one number to call. Free on-site estimate. No pressure, no obligation, ever. Call or text 720-233-5487 or email info@goldenstain.com.
Explore more
Ready for the real thing? Browse all our services, the areas we serve across Colorado and Austin, and our home-care journal, then call 720-233-5487 for a free estimate.